
仲良くさせてもらっているフロントエンドエンジニアの方からCloudflare(クラウドフレア)の基本的なことをざっくり教わり、最近実際に自分でも勉強しつつ使い始めました。
時代についていけていなかった私としては、構築したサイトをドメイン費用のみでサーバレス(実際は物理サーバを用いてるみたいですが)で公開できてしまうということに驚きました。。。私はCloudflareをFreeプランで利用しているので、ランニングコストが浮きますね!
私は、実験的に開発環境としてCloudflareを使っていますが、WEBサイトの公開用ではないため、アクセス制限をかける必要がありました。そのため今回はベーシック認証を設定してアクセス制限をしてみました。
Cloudflare導入やプロジェクトの作成方法についてはまた別途記事にしますが、まずは自分が忘れないためにCloudflareでのベーシック認証の設定方法のメモを残しておきます。
https://www.cloudflare.com/ja-jp/
ベーシック認証の設定方法
htaccessでのベーシック認証も検討しましたが、Cloudflareの機能を学びたかったので今回はCloudflare Workersでベーシック認証を設定しました。
また、
- プロジェクトの作成
- gitの連携
- デプロイまでできる状態
までできている前提となります。
Cloudflare Workersの設定
まずWorkersを作成します。
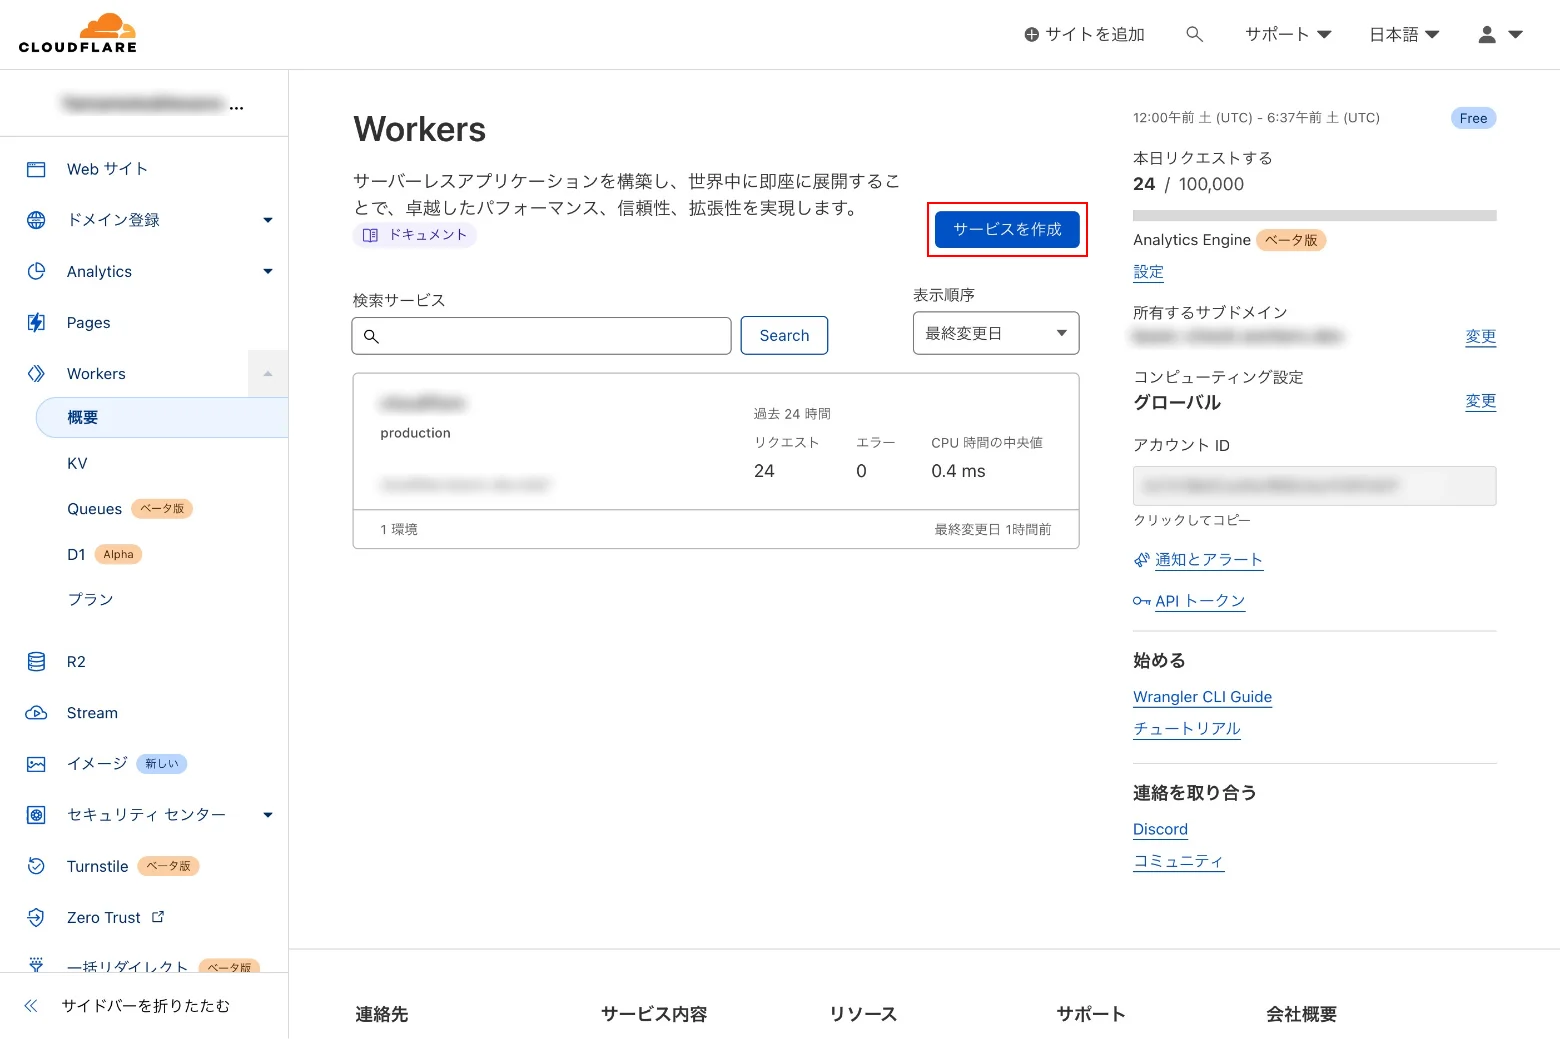
管理画面のメニューから「Workers」に移動します。

「Workers」に移動したら、下記の画面になりますので、「サービスを作成」をクリックします。
下記の画面になったら、「サービス名」を入力(basicAuth等)し、「サービスの作成」をクリックします。
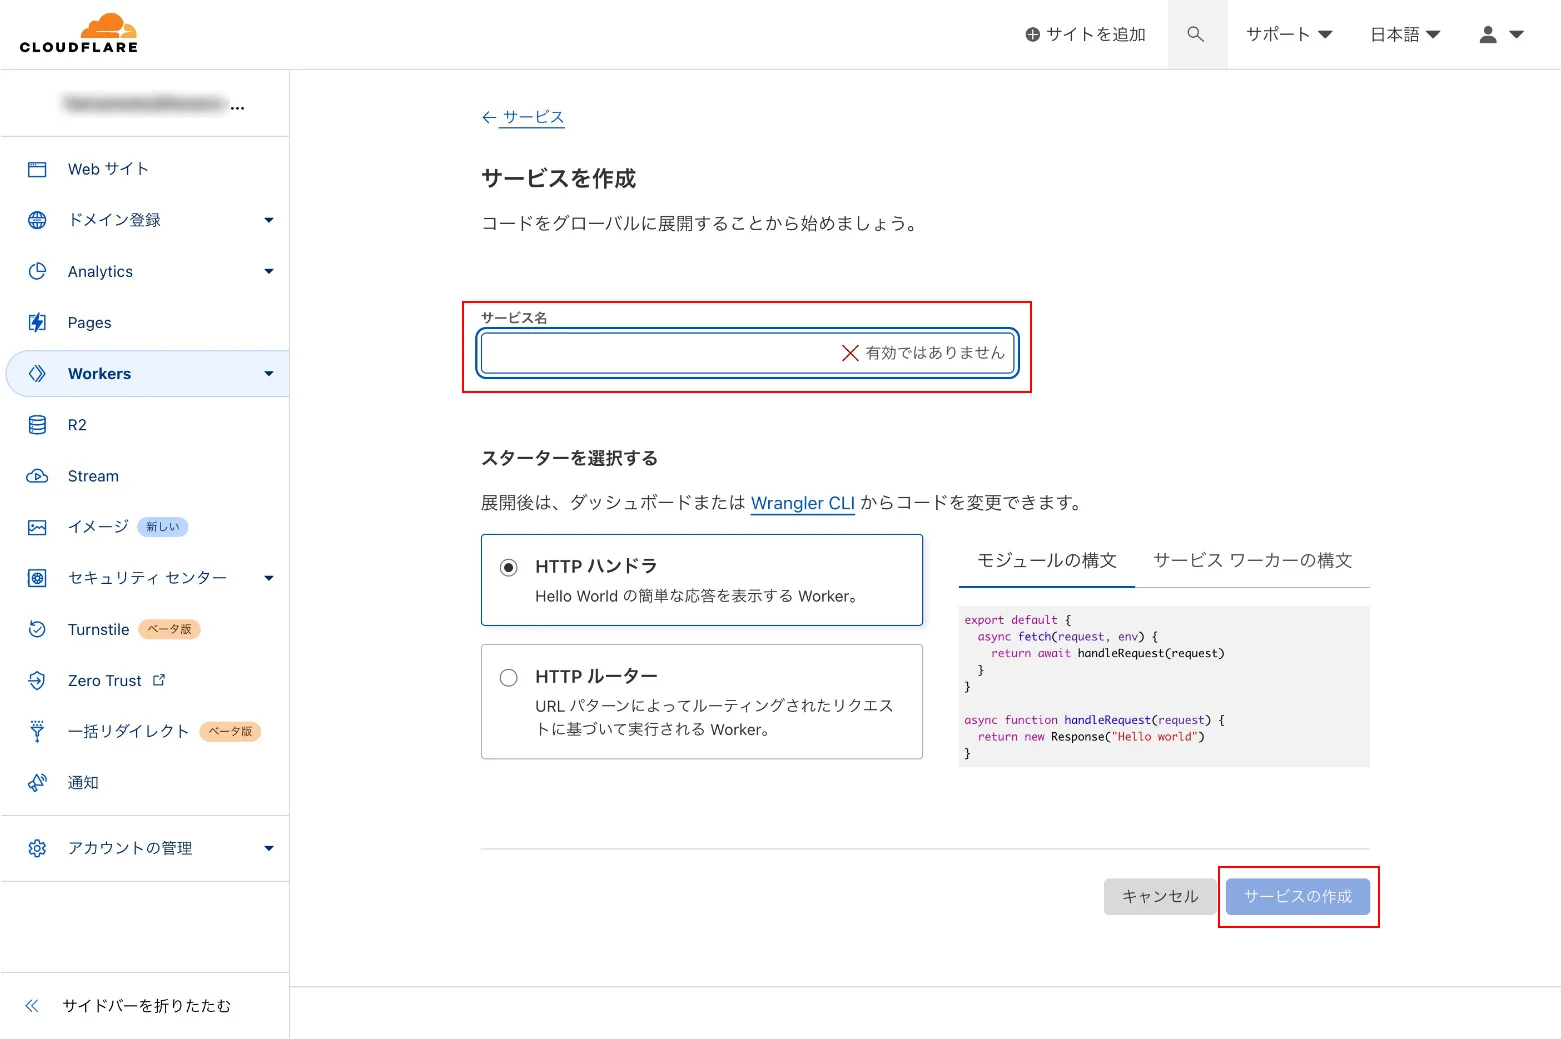
「サービスの作成」をクリック後、下記の画面から「クイック編集」をクリックします。

「クイック編集」画面が開いたら、下記の画面の赤枠部分を編集します。
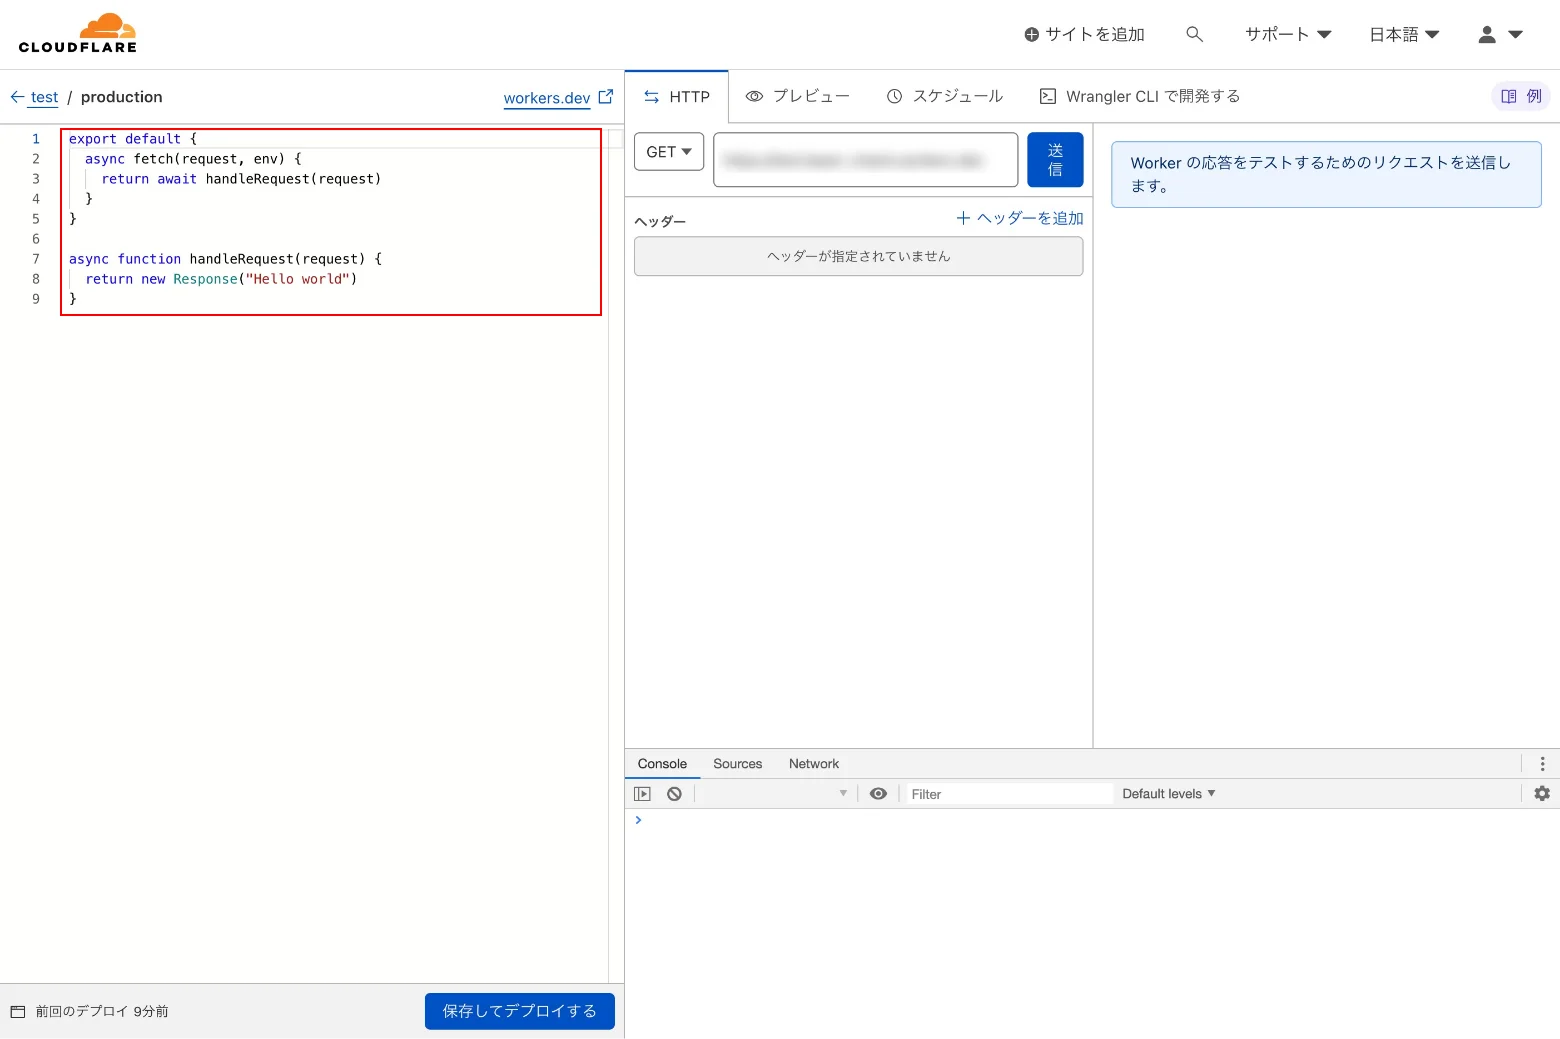
編集の内容は下記をコピペしてください。
/**
* Shows how to restrict access using the HTTP "Basic" schema.
* @see https://developer.mozilla.org/en-US/docs/Web/HTTP/Authentication
* @see https://tools.ietf.org/html/rfc7617
*
* A user-id containing a colon (":") character is invalid, as the
* first colon in a user-pass string separates user and password.
*/
const BASIC_USER = 'username'
const BASIC_PASS = 'password'

/**
* Receives a HTTP request and replies with a response.
* @param {Request} request
* @returns {Promise<Response>}
*/
async function handleRequest(request) {
  const { protocol, pathname } = new URL(request.url)

  // In the case of a "Basic" authentication, the exchange
  // MUST happen over an HTTPS (TLS) connection to be secure.
  if ('https:' !== protocol || 'https' !== request.headers.get('x-forwarded-proto')) {
    throw new BadRequestException('Please use a HTTPS connection.')
  }

  // The "Authorization" header is sent when authenticated.
  if (request.headers.has('Authorization')) {
    // Throws exception when authorization fails.
    const { user, pass } = basicAuthentication(request)
    verifyCredentials(user, pass)

    // Only returns this response when no exception is thrown.
    return fetch(request)
  }

  // Not authenticated.
  return new Response('You need to login.', {
    status: 401,
    headers: {
      // Prompts the user for credentials.
      'WWW-Authenticate': 'Basic realm="Please input id and password.", charset="UTF-8"'
    }
  })
}

/**
* Throws exception on verification failure.
* @param {string} user
* @param {string} pass
* @throws {UnauthorizedException}
*/
function verifyCredentials(user, pass) {
  if (BASIC_USER !== user) {
    throw new UnauthorizedException('Invalid username.')
  }

  if (BASIC_PASS !== pass) {
    throw new UnauthorizedException('Invalid password.')
  }
}

/**
* Parse HTTP Basic Authorization value.
* @param {Request} request
* @throws {BadRequestException}
* @returns {{ user: string, pass: string }}
*/
function basicAuthentication(request) {
  const Authorization = request.headers.get('Authorization')

  const [scheme, encoded] = Authorization.split(' ')

  // The Authorization header must start with "Basic", followed by a space.
  if (!encoded || scheme !== 'Basic') {
    throw new BadRequestException('Malformed authorization header.')
  }

  // Decodes the base64 value and performs unicode normalization.
  // @see https://datatracker.ietf.org/doc/html/rfc7613#section-3.3.2 (and #section-4.2.2)
  // @see https://dev.mozilla.org/docs/Web/JavaScript/Reference/Global_Objects/String/normalize
  const decoded = atob(encoded).normalize()

  // The username & password are split by the first colon.
  //=> example: "username:password"
  const index = decoded.indexOf(':')

  // The user & password are split by the first colon and MUST NOT contain control characters.
  // @see https://tools.ietf.org/html/rfc5234#appendix-B.1 (=> "CTL = %x00-1F / %x7F")
  if (index === -1 || /[\0-\x1F\x7F]/.test(decoded)) {
    throw new BadRequestException('Invalid authorization value.')
  }

  return {
    user: decoded.substring(0, index),
    pass: decoded.substring(index + 1),
  }
}

function UnauthorizedException(reason) {
  this.status = 401
  this.statusText = 'Unauthorized'
  this.reason = reason
}

function BadRequestException(reason) {
  this.status = 400
  this.statusText = 'Bad Request'
  this.reason = reason
}

addEventListener('fetch', event => {
  event.respondWith(
    handleRequest(event.request).catch(err => {
      const message = err.reason || err.stack || 'Unknown Error'

      return new Response(message, {
        status: err.status || 500,
        statusText: err.statusText || null,
        headers: {
          'Content-Type': 'text/plain;charset=UTF-8',
          // Disables caching by default.
          'Cache-Control': 'no-store',
          // Returns the "Content-Length" header for HTTP HEAD requests.
          'Content-Length': message.length,
        }
      })
    })
  )
})
9、10行目でユーザー名とパスワードを設定できます。
上記まで完了したら「プレビュー」をクリックし、ベーシック認証のダイアログが表示されることを確認します。

問題なくベーシック認証のダイアログが表示されたら、「保存してデプロイする」をクリックします。
保存ができたら次はサイト側の設定をします。
サイト側の設定
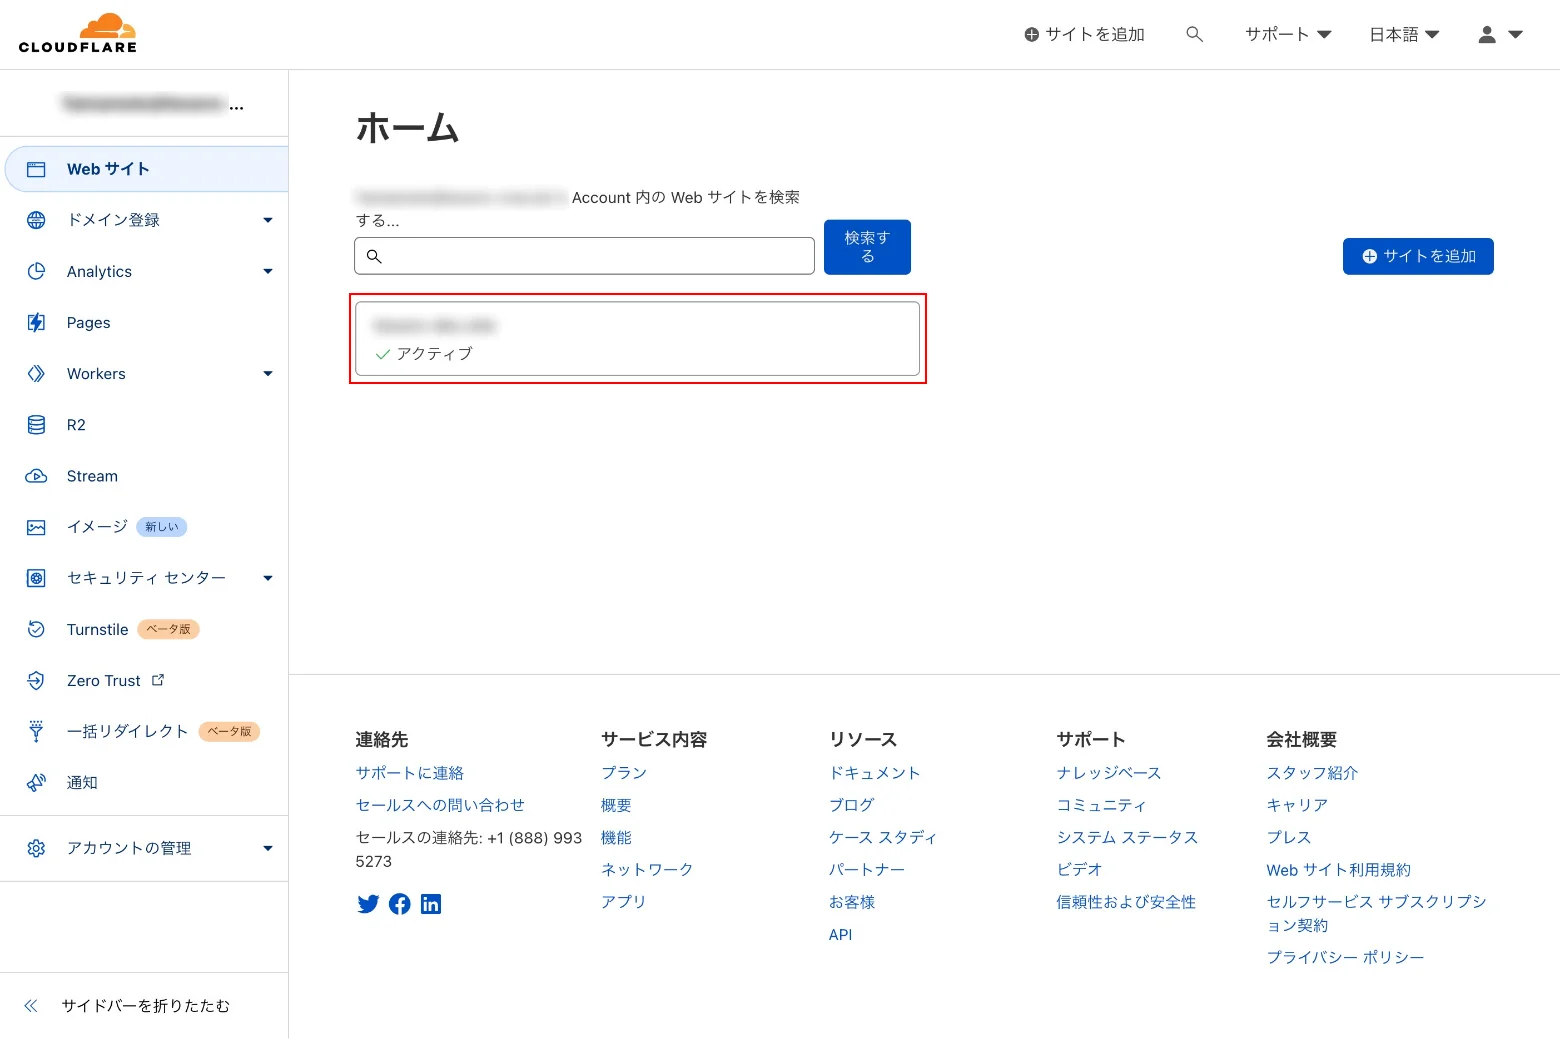
管理画面のトップに戻り、「Webサイト」からベーシック認証を設定したいアクティブなサイトを選択します。
サイトを選択したら、メニューの「Workers ルート」に移動し、「ルートを追加」をクリックします。

「ルートを追加」をクリックすると、下記のモーダル画面が表示されます。
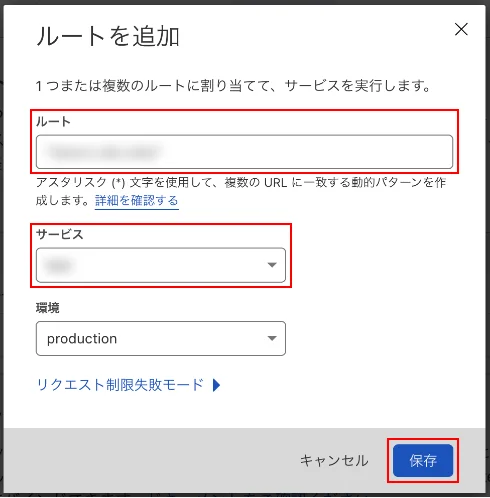
ルート : ドメイン/*
サービス : Workersで設定したサービス名を選択
環境 : 「production」を選択
上記のように設定し「保存」をクリックします。
これで設定は完了になります。
Webサイトにアクセスする
設定が完了したら、Webサイトにアクセスするとベーシック認証が表示されます。
ユーザー名とパスワードを入力しWebサイトが問題なく表示されることを確認しましょう。
まとめ
今回はベーシック認証の設定方法についてのメモとなりますが、これからCloudflareの機能を色々試してメモに残しておこうと思います。